Custom CMDB Profiles are types of extension fields (additional fields used by analysts to record non-standard information about a CMDB item) and can be added to CMDB Item Details windows by personalizing the screens in the ASM Designer.
Custom CMDB Profile 1, Custom CMDB Profile 2 and Custom CMDB Profile 3 fields should have been added to the window, usually under different names, when the window was designed. The Custom CMDB Profile 1, Custom CMDB Profile 2 and Custom CMDB Profile 3 windows allow you to define the items that will appear in each custom list. You can create, rename and delete profiles.
Creating a Profile Entry
Before you start
You must have CMDB Setup enabled within your General Access security role in order to configure any CMDB administration settings. Depending on if or how your system is partitioned, ensure that you are working in the correct partition.
-
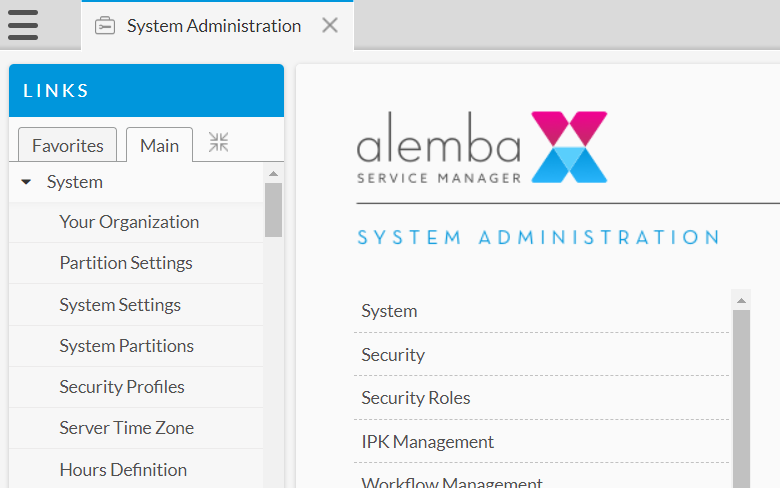
Select the Menu button
 , then Admin, and then select System Administration. The System Administration window is displayed
  . In the Explorer pane expand CMDB.
 - Select the CMDB Profile - Custom CMDB Profile 1, Custom CMDB Profile 2 or Custom CMDB Profile 3 - that you wish to configure. The selected Custom CMDB Profile window will open.
- Select
 . A new row is added to the browse table.
 - In the Name list, type the name of the new profile entry you want to create.
- Repeat for each profile you want to create.
- Select
 to save the changes. Provide the Change Reasons if prompted to do so.
Once you select , the browse table displays the entries in alphabetical order.
Renaming a Profile Entry
Before you start
You must have CMDB Setup enabled within your General Access security role in order to configure any CMDB administration settings. Depending on if or how your system is partitioned, ensure that you are working in the correct partition.
-
Select the Menu button
, then Admin, and then select System Administration. The System Administration window is displayed . In the Explorer pane expand CMDB. - Select the CMDB Profile - Custom CMDB Profile 1, Custom CMDB Profile 2 or Custom CMDB Profile 3 - that you wish to configure. The selected Custom CMDB Profile window will open.
- Select the profile entry you want to edit by selecting on it.
- Type the name you want to assign for the selected profile entry.
- Select to save the changes. Provide the Change Reasons if prompted to do so.
Deleting a Profile Entry
Before you start
You must have CMDB Setup enabled within your General Access security role in order to configure any CMDB administration settings. Depending on if or how your system is partitioned, ensure that you are working in the correct partition.
You cannot reverse this procedure. If you delete a Profile by mistake, you have to re-create the entry by creating a new profile.
-
Select the Menu button
, then Admin, and then select System Administration. The System Administration window is displayed . In the Explorer pane expand CMDB. - Select the CMDB Profile - Custom CMDB Profile 1, Custom CMDB Profile 2 or Custom CMDB Profile 3 - that you wish to configure. The selected Custom CMDB Profile window will open.
- Select the Profile entry you want to delete from the list.
- Select
 . If you attempt to delete the system default, you will receive a warning message.
 - Select to save the changes. Provide the Change Reasons if prompted to do so.